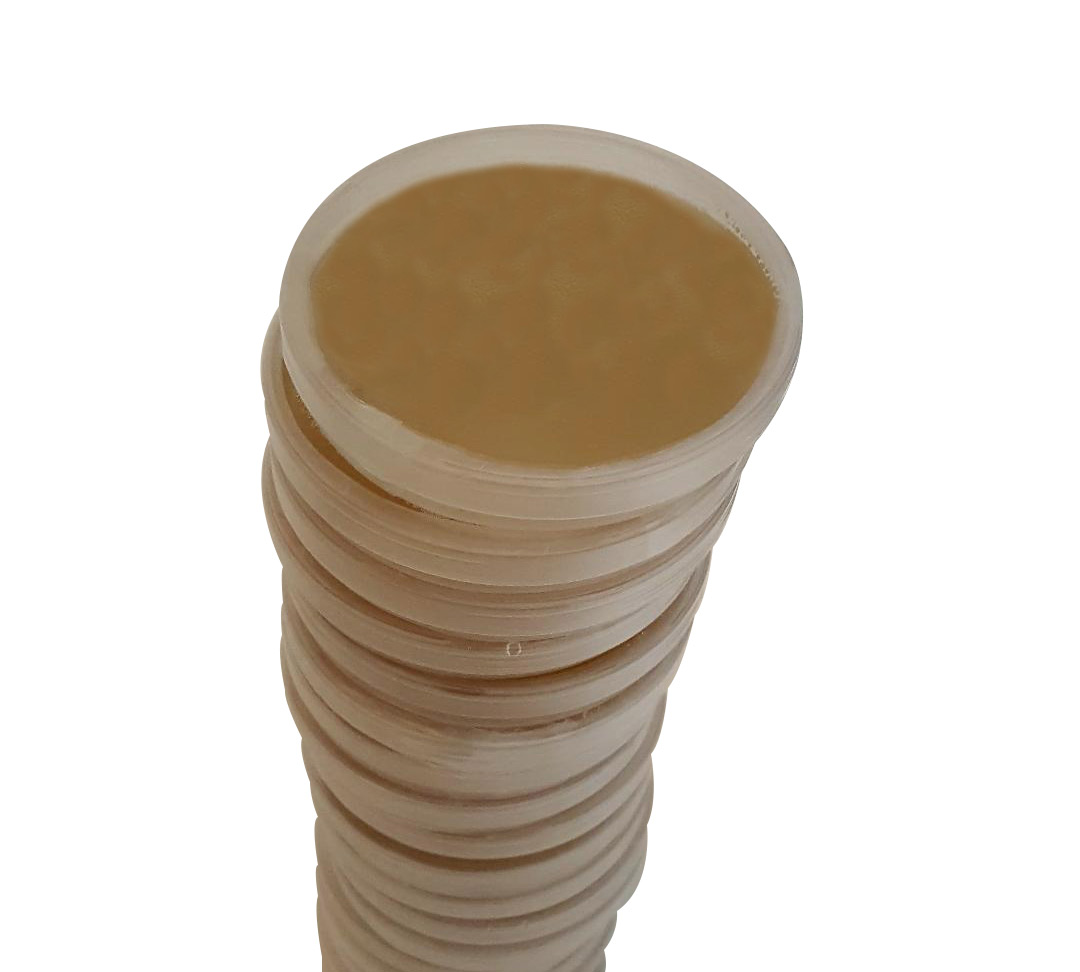
Agar plates are a foundational tool in microbiology and mycology, used for cultivating spores, isolating strains, and testing sterility. Making your own agar plates is a cost-effective way to support your research while giving you complete control over the process. This guide will walk you through everything you need to know to make agar plates, with tips to ensure success and suggestions for maintaining sterility.
What Are Agar Plates?
Agar plates are petri dishes filled with a nutrient-rich medium made from agar—a gelatin-like substance derived from seaweed. When prepared correctly, agar plates provide an ideal surface for growing and studying microorganisms, including mushroom spores.
Materials You’ll Need
- Agar powder: Use malt extract agar (MEA), potato dextrose agar (PDA), or any nutrient agar suitable for your needs.
- Nutrient source: Such as malt extract, potato flakes, or yeast extract (depending on your agar recipe).
- Distilled water: Essential for preparing a sterile medium.
- Petri dishes: Sterile, disposable plastic or reusable glass dishes.
- Measuring tools: A scale, measuring cups, and a graduated cylinder.
- Microwave or stovetop: For heating and sterilizing the agar mixture.
- Pressure cooker or autoclave: To sterilize the agar solution.
- Sterile workspace: A still-air box or laminar flow hood is highly recommended.
Related Resource: Learn how to build a still-air box for a contamination-free workspace.
Step-by-Step Guide: How to Make Agar Plates
Step 1: Prepare Your Workspace
Before you start, clean and sterilize your workspace. Use alcohol or a disinfectant to wipe down all surfaces, and wear sterile gloves to minimize contamination risks.
Step 2: Mix the Agar Solution
- Measure the required amount of agar powder, nutrient source, and water based on your recipe. For example:
- Malt Extract Agar (MEA): 20g malt extract, 15g agar powder, 1L distilled water.
- Potato Dextrose Agar (PDA): 200g potato flakes, 15g agar powder, 20g dextrose, 1L distilled water.
- Combine the ingredients in a heat-resistant container, stirring until dissolved.
Step 3: Heat the Mixture
Heat the mixture on a stovetop or in a microwave until it reaches a boil. Stir occasionally to prevent clumps. The solution should be fully transparent without any undissolved particles.
Step 4: Sterilize the Agar Solution
Pour the agar mixture into a pressure cooker or autoclave. Sterilize it at 15 PSI (121°C) for 15-20 minutes. Proper sterilization eliminates contaminants that could compromise your plates.
Step 5: Pour the Agar Plates
- Allow the sterilized agar solution to cool slightly (around 45-50°C). It should still be liquid but not so hot that it creates condensation in the petri dishes.
- In a sterile environment, pour the agar into petri dishes. Aim for a depth of about 4-5mm to ensure even growth.
- Cover each dish immediately after pouring to prevent airborne contaminants.
Step 6: Allow the Agar to Set
Let the agar plates cool and solidify at room temperature. Once set, they will have a firm, jelly-like texture.
Step 7: Store the Plates
Seal the plates with parafilm or store them in a clean, airtight container. Keep them refrigerated to extend their shelf life. Properly stored agar plates can last several weeks.
Related Resource: Learn how to use parafilm here.
Tips for Success
- Avoid Overheating: Overheating the agar mixture can caramelize sugars and affect its consistency.
- Prevent Condensation: Allow plates to cool slowly in a sterile environment to minimize condensation on the lids.
- Label Your Plates: Mark the bottom of each plate with the date and type of agar to keep track of your work.
Can You Use Spore Swabs or Syringes with Agar Plates?
Yes! Spore swabs and syringes are excellent tools for inoculating agar plates. Swabs can be streaked directly onto the agar surface, while spore syringes allow for precise placement of spore solution.
Related Resources:
- Learn how to use spore swabs for transferring spores to agar.
- Discover how to make a spore syringe for accurate inoculation.
Why Make Your Own Agar Plates?
While pre-made agar plates are convenient, making your own offers several advantages:
- Cost-Effective: Homemade plates are far cheaper than purchasing pre-made options.
- Customizable: Adjust recipes to suit specific spores or strains.
- Educational: The process deepens your understanding of microbiology and mycology.
Final Thoughts
Making agar plates may seem daunting at first, but with the right materials and sterile techniques, it’s a straightforward and rewarding process. Whether you’re isolating spores or experimenting with different strains, agar plates are an essential tool for success.
Ready to start your agar adventures? Visit ShroomSpores for high-quality spore swabs, spore syringes, and other mycology supplies.
